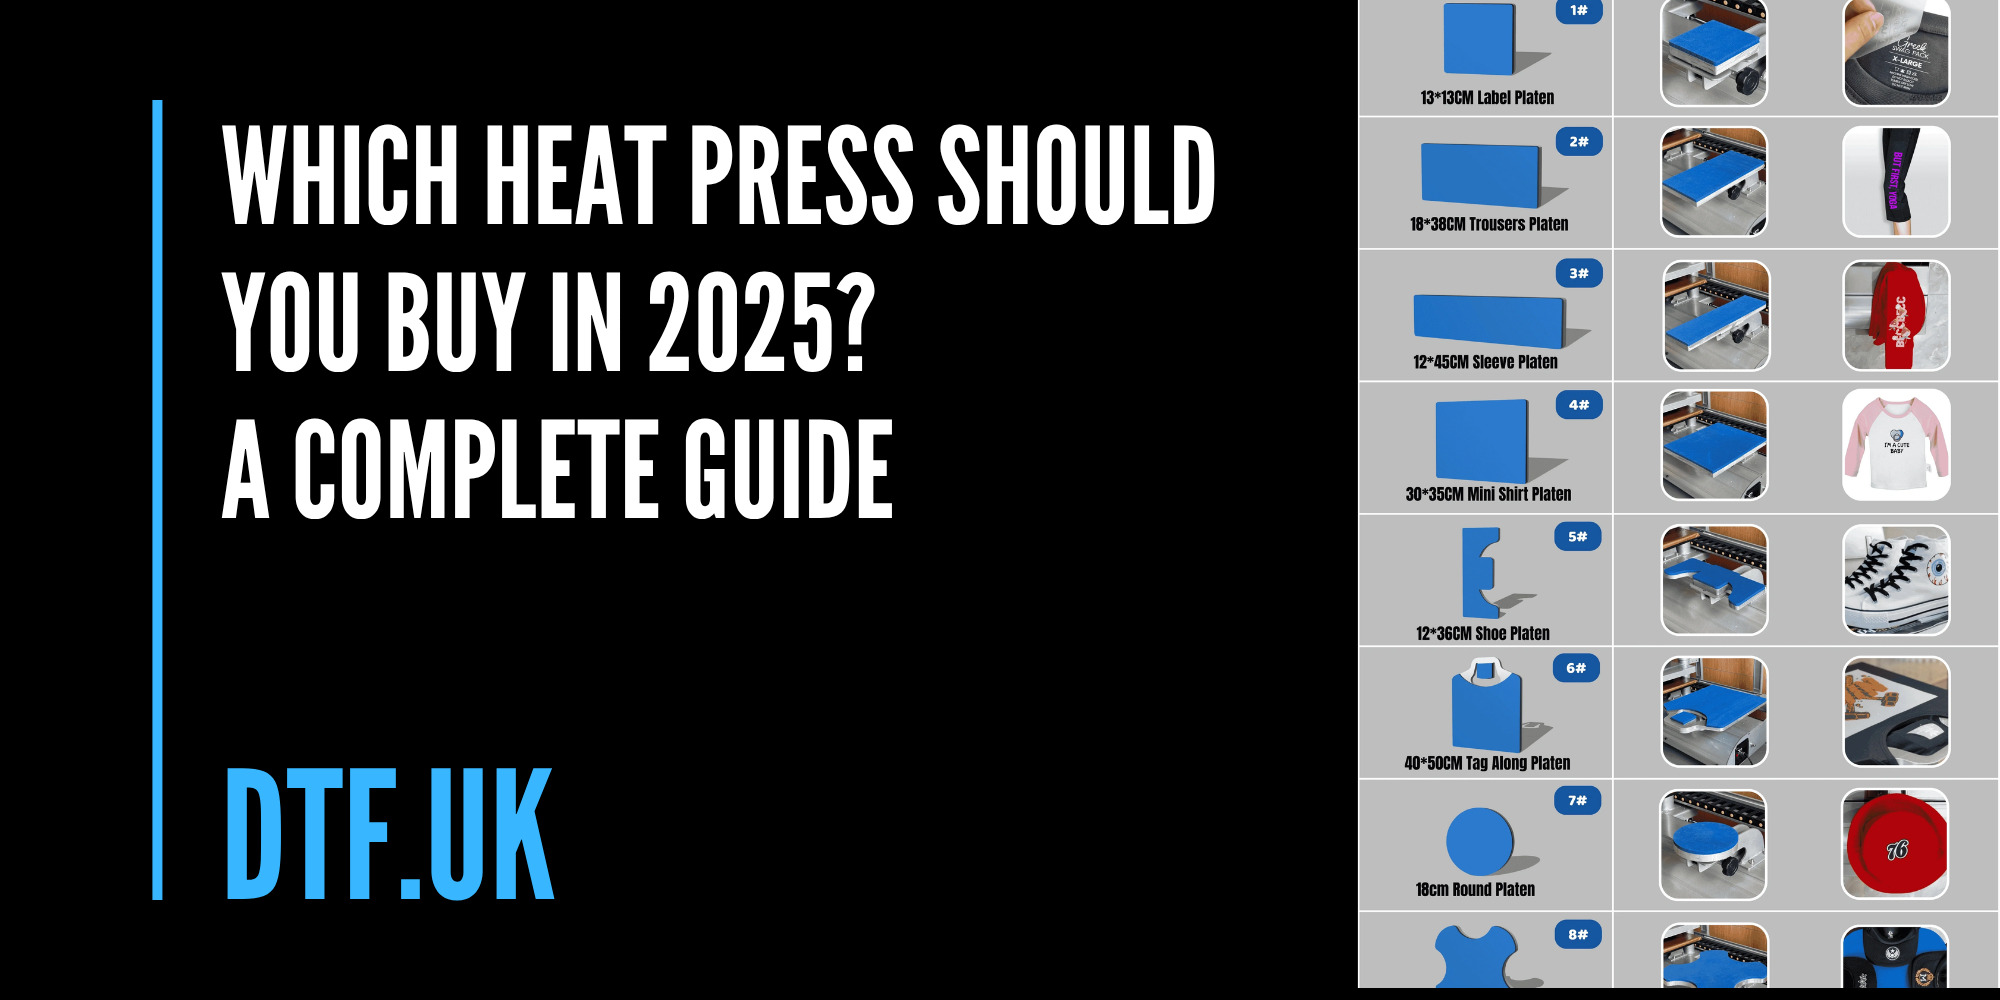
If you're exploring the world of digital Direct-to-Film (DTF) transfers and want to master the art of heat pressing them onto t-shirts, you're in the right place. In this guide, created by DTF.UK Direct to Film DTF Printers, we'll walk you through the essential steps, tips, and tricks to successfully apply warm peel DTF transfers. Whether you're a beginner or looking to refine your technique, these instructions will help you get professional results every time.
Getting Started: Essential Equipment for DTF Transfers
Before diving into the pressing process, it's important to have the right tools on hand. Here’s what you’ll need:
- Heat Press Machine: We use a Heat Press 40x50cm Pneumatic Double Station, which offers ample space for larger designs. However, there are many options on the market ranging from budget-friendly models on Amazon to more premium, durable presses like ours. A 15" x 15" press can also work well for most projects.
- DTF Transfers: Our transfers arrive in a 60 cm roll, cut into gang sheets. Each sheet includes a color bar strip that you’ll need to trim off before pressing.
- Heat Resistant Tape: Especially useful for small or intricate designs to keep the transfer securely in place during pressing.
- Heat Press Pillows: These help create a flat surface on garments with seams, zippers, or pockets, such as hoodies, ensuring even pressure and preventing scorch marks.
- Microfiber Cloth: Used for gently swiping over fine details during pressing to ensure even heat distribution.
Preparing Your Garment and Transfer
Start by trimming the color bar from your gang sheet to clean up the transfer. Then, cut the design you want to press and straighten the edges for easier alignment.
For the garment, we recommend pre-pressing the t-shirt for about 7 seconds at 160°C. This step removes moisture and wrinkles, creating a smooth surface that helps the transfer adhere better.
Heat Press Settings
Our standard settings for 100% cotton t-shirts are:
- Temperature: 160°C
- Time: 7 seconds
- Pressure: Heavy (adjust according to your machine)
If you’re working with heat-sensitive fabrics like polyester or triblends, start with a lower temperature around 120°C to avoid scorching or damage.
Step-by-Step Heat Pressing Process
1. Positioning the Transfer
Lay your garment flat on the heat press platen. For t-shirts, use the collar as a reference point to ensure the design is aligned correctly and not too close to the seam.
Place the transfer on the garment, typically about 6-8cm from the top edge, depending on your design size. Use your fingers and thumbs to center and straighten the transfer.
2. First Press
Close the heat press and apply heavy pressure for 7 seconds at 160°C. After pressing, carefully remove the garment from the press and let the transfer cool for about 15 seconds.
3. Peeling the Transfer
Our transfers are warm/cold peel, meaning you should peel once the transfer is cool but still slightly warm. Start peeling from the corner, pulling away from the garment rather than upwards, to ensure the transfer releases cleanly.
4. Second Press
After peeling, flip the transfer film over and place it back onto the garment. Press again for 7 seconds with the same temperature and pressure. This final step ensures durability and a smooth finish.
Special Tips for Challenging Transfers
Handling Fine Details and Small Lettering
Transfers with intricate details or tiny fonts can be tricky. Here’s how to get the best results:
- Use a microfiber cloth to gently swipe over the transfer during pressing to evenly distribute heat and pressure.
- Make sure your heat press is applying enough pressure—too little pressure can cause incomplete adhesion.
- Peel from the largest surface area of the transfer, usually the top right corner, pulling away from the garment to avoid lifting small details.
Applying Small Transfers Like QR Codes or Pocket Prints
Small transfers might lift if not secured properly. Use heat-resistant tape on both sides of the transfer to hold it firmly in place during pressing. This prevents shifting and ensures a clean transfer.
Working with Hoodies and Garments with Zippers
Garments with zippers, seams, or kangaroo pockets require extra care:
- Use heat press pillows inside the garment to create a flat, even surface. These pillows come in various sizes and help distribute pressure evenly.
- Make sure the zipper is fully out of the way to avoid damage or uneven pressing.
- Position your design as usual, tape it down if small, and press with the same temperature, time, and pressure settings.
Additional Tips for Successful DTF Transfers
- Pressure Check: Use the paper test to check your heat press pressure. Place a piece of paper on each corner, press, and try to pull them out. Adjust pressure to ensure the bills cannot be pulled out easily.
- Work in Batches: You can press multiple transfers consecutively, then peel them all together after cooling, and finally do the second press. This workflow saves time and helps maintain consistency.
- Temperature Management: If you’re working with blends or delicate fabrics, always test on a sample first to find the optimal temperature and time without damaging the garment.
Conclusion
Mastering the heat pressing of DTF transfers takes practice but following these detailed steps will help you achieve vibrant, durable, and professional-quality prints. From preparing your garment and transfer to handling fine details and tricky garments like hoodies, these proven techniques ensure your transfers look their best.
Remember to always work on a flat surface, adjust pressure appropriately, and allow your transfers to cool slightly before peeling for the best results. Whether you’re printing for fun or building a business, these tips from DTF.UK Direct to Film DTF Printers will guide you to success.
For more tutorials, tips, and supplies, be sure to explore resources and tools available online, and don’t hesitate to reach out to experts if you have questions. Happy pressing!

